
Every second your website takes to load, you risk losing a potential customer. It is a harsh reality of the modern internet. People expect instant access to information, products, and entertainment. When a page stalls, frustration builds. And the number one reason pages stall? Large image files.
Photographs, graphics, and illustrations make websites visually appealing. But without proper handling, JPEG, PNG, and WebP files become heavy burdens that drag down performance. The good news is that you can dramatically shrink these files while keeping them looking sharp. This article walks you through why this matters and how to do it effectively.
The Connection Between Image Size and Loading Speed
Imagine you are packing a suitcase. If you throw in everything without care, the bag becomes heavy and hard to carry. The same logic applies to images on a website. Every time someone visits your site, their browser must download each image file. Larger files take longer to transfer, especially on mobile networks or slower Wi-Fi connections.
Search engines like Google pay close attention to how quickly pages load. They prioritize fast-loading websites in search results. One of the key metrics they measure is how soon the largest content appears on screen. By optimizing your image files, you reduce the amount of data sent to each visitor. This leads to faster downloads, happier users, and better positions in search engine listings. It is a simple change that produces immediate results.
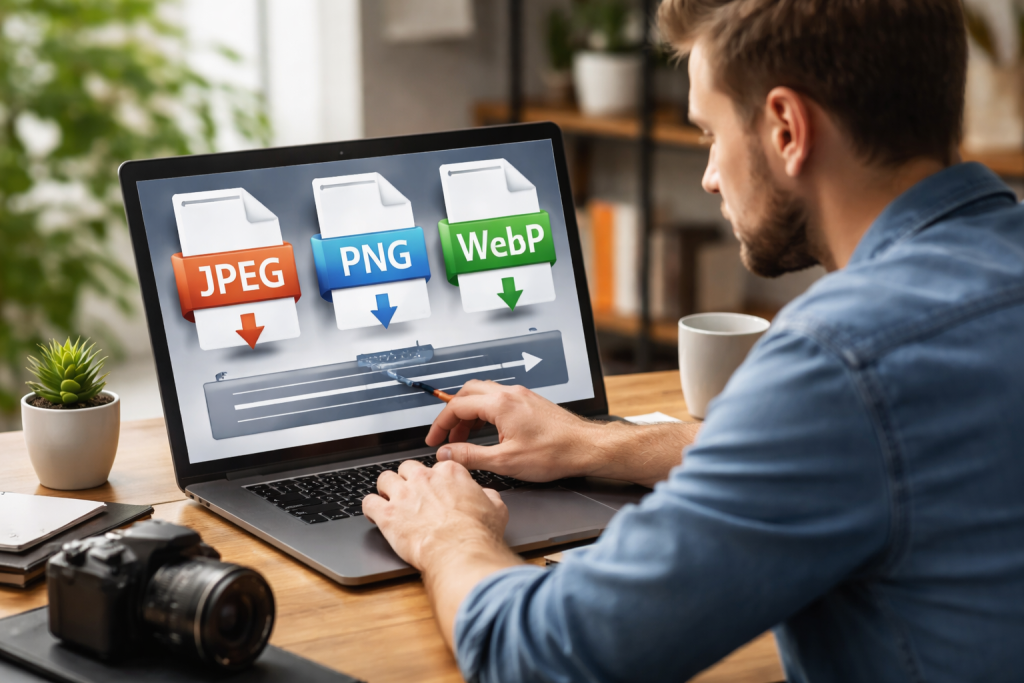
Understanding JPEG, PNG, and WebP – What Each Brings
Different image formats serve different purposes. Knowing what each one does helps you decide how to handle them.
JPEG is the standard choice for photographs and complex scenes with many colors. Cameras and smartphones save photos as JPEG by default. However, these original files often contain extra information that web visitors do not need, such as camera settings, location data, and unnecessarily high detail levels. Trimming away that extra bulk can make a JPEG much lighter without changing how it looks on a screen.
PNG shines when you need crisp edges, text, or transparent backgrounds. Logos, buttons, and screenshots are often stored as PNG. The downside is that PNG files tend to be significantly larger than JPEGs. A simple graphic might be ten times heavier than necessary. Fortunately, there are ways to reduce PNG size by simplifying the color palette or removing hidden metadata.
WebP is a newer format created to outperform both JPEG and PNG. It typically produces smaller files while maintaining similar or better quality. WebP also supports transparency and animation. Even so, WebP files generated from large originals can still be too big. Additional optimization can make them even lighter, giving you the best possible performance.
What Happens When You Skip Image Optimization
Many website owners upload images directly from their cameras or design software without any adjustments. This common mistake leads to several problems.
First, slow loading times drive visitors away. Data shows that if a page takes longer than three seconds to load, over half of mobile users will leave. Those lost visitors might never come back. For online stores, a one-second delay can cut sales by nearly ten percent. Every heavy image on your product pages is a potential lost sale.
Second, your hosting costs may increase. Most hosting plans include a monthly data transfer limit. Serving large image files to thousands of visitors consumes that transfer quickly. Once you exceed the limit, you either pay extra fees or your site gets temporarily slowed down. Lightening your images reduces transfer usage and saves money.
Third, your website becomes harder to crawl. Search engines send bots to explore your pages. If those bots encounter slow-loading images, they may not have time to scan all your content. Important pages might get overlooked, hurting your overall visibility.
Choosing Between Different Optimization Approaches
When you prepare to shrink an image, you typically face two paths. One path removes some fine details to achieve a much smaller file. This works wonderfully for photographs where tiny variations in color or texture are not noticeable. The other path keeps every single pixel exactly as it is but reorganizes how the data is stored. This is better for images with text, sharp lines, or logos where any blurring would be obvious.
For JPEG and WebP photographs, the first approach is usually best. You can reduce file size by eighty percent or more, and the human eye will see no difference. For PNG graphics, the second approach preserves clarity while still saving space. Some modern tools even blend both methods, giving you fine control over the final result.
The key is to test different settings. Start with a more aggressive reduction and preview the image. If it still looks good, keep those settings. If you notice artifacts or blur, dial back slightly. Finding the right balance takes only a few tries.
Easy Ways to Optimize Your Images Today
You do not need to be a technical expert or buy expensive software. Here are three simple methods to make your JPEG, PNG, and WebP files smaller.
Use a Reliable Online Tool
The quickest route is to upload your images to a dedicated web service. These platforms handle all the technical work behind the scenes. You simply select your files, wait a few seconds, and download the optimized versions. Many tools support batch processing, allowing you to handle dozens of images at once.
For example, pixlop.com offers a straightforward interface for reducing image file sizes. You can drag and drop JPEG, PNG, or WebP files onto the page. The tool instantly shows you how much space you save. You can then download each optimized image individually or as a compressed folder. It works on any device with a browser, and there is no software to install.
Enable Smart Optimization for Every New Upload
If you run a content management system like WordPress, you can install a plugin that automatically shrinks new images when you upload them. This saves you from remembering to optimize each file manually. However, free plugins often have monthly limits. For occasional use, an online tool remains more flexible.
Use Built-In Tools on Your Computer
Both Windows and Mac include basic image editing features. You can open a JPEG in Paint or Preview and save a copy with lower quality. This method gives you some control but lacks the advanced algorithms that dedicated tools use. For the best results, stick with a purpose-built online service.
A Real Example of the Difference Optimization Makes
Let me share a practical scenario. Suppose you run a travel blog. You just returned from a trip with twenty beautiful photographs. Each photo from your camera is 2.5MB. If you upload them all without any changes, your blog post will require 50MB of data to load. A visitor using a typical mobile connection would wait over twenty seconds for the images to appear.
Now imagine you run those same twenty photos through an optimizer. You reduce each one to 180KB. The total drops to just 3.6MB. That same mobile visitor now sees the full gallery in under two seconds. The images still look vibrant and clear. No one would guess they were optimized. This is the power of proper image handling.
Why WebP Alone Is Not a Complete Solution
Many people believe that converting images to WebP solves all performance problems. While WebP is excellent, it is not magic. If you convert a heavily bloated JPEG to WebP, the resulting WebP file will still be heavier than necessary. You must optimize the WebP file itself.
Additionally, older browsers and some devices do not support WebP. A smart strategy is to create optimized versions in multiple formats. Serve WebP to modern browsers and fall back to optimized JPEG or PNG for the rest. Many content delivery networks and image services handle this automatically. For do-it-yourself setups, you can write simple HTML that provides alternatives.
Practical Steps to Transform Your Website Speed
Ready to take action? Follow this plan.
Step one: Identify your heaviest pages. Use free online speed testers to see which images are causing delays. Focus first on your homepage, product pages, and most popular blog posts.
Step two: Gather the original images from those pages. Make a backup copy somewhere safe. You never want to lose your high-resolution originals.
Step three: Open an optimization tool. Upload a batch of images. Review the size reductions and preview the quality. If everything looks good, download the optimized versions.
Step four: Replace the old images on your website. Ensure the file names stay exactly the same so links do not break. Clear any caching plugins to force fresh copies.
Step five: Test your page speed again. You should see dramatic improvements. Repeat this process for the rest of your site over time.
Step six: Create a habit. From now on, never upload an image without optimizing it first. Bookmark a reliable tool like pixlop.com for easy access.
Final Thoughts
Your website’s speed is a competitive advantage. Visitors reward fast pages with longer visits, more clicks, and higher trust. Search engines reward fast pages with better rankings. And your hosting bill rewards smaller files with lower costs.
Reducing the size of JPEG, PNG, and WebP images is one of the highest-return investments you can make in your site. The tools are free or very low cost. The process takes seconds per image. The results are measurable and immediate.
Do not let heavy images hold your website back. Start optimizing today. Your visitors will notice the difference, and your analytics will prove it.